You can easily get started with the flipped classroom model and flip your class in four simple steps: Format, Interact, Reflect, and Extend. This little mini-series will take you through each step to help guide you on your journey with flipped learning. This is step 1: Format.
The Main Purpose of Using the Flipped Classroom Model
In a traditional classroom, the students learn basic information in class and then go home to practice and apply their information. In a flipped classroom, the students learn the basic information at home and then spend time in class practicing and applying their knowledge.
The flipped classroom allows for more time in class practicing and applying the information. It also offers more opportunities for students to get help when they are stuck or have misconceptions.
The flipped classroom model is especially useful with hybrid or remote learning.
Students can do the lesson during the asynchronous time at home. This will allow you to maximize the time you have with your class doing activities that will allow them to practice and apply their knowledge.

Different Formats You Can Use For Your Flipped Lesson
Create Your Own Video
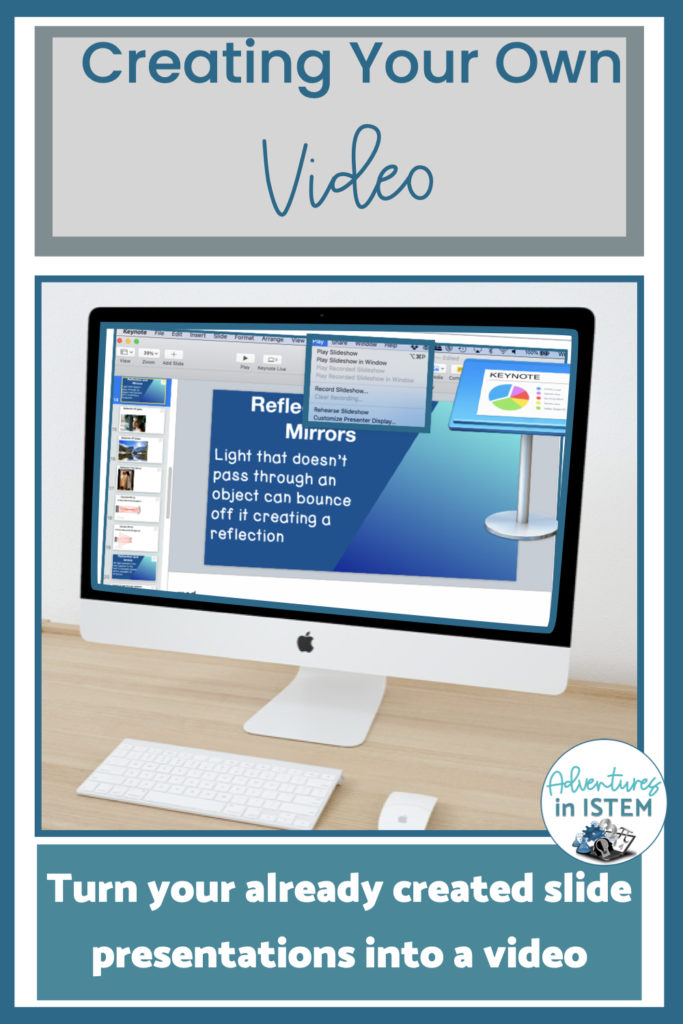
If you already have a slide presentation that you usually use to give students the information then you could turn that into a video. Both Microsoft Powerpoint and Mac Keynote offer ways to record your slide presentation.
You could also record your screen with a screencasting program. If you have a Mac you could use Quicktime which is already on your computer. If you don’t have a Mac you could use programs like screencastify, screencast-o-matic, and loom.
Pros of creating your own video
- Information is exactly what you want the students to know
- Students prefer hearing the voice of their teacher
Cons of creating your own video
- Takes time to create a video
- Need to learn how to create a video
Use an Already Created Video
If you are not the creative type, or you just don’t have time to learn the skill of creating videos, you can use a video someone else has already created.
Youtube and Khan Academy are some great places to search for videos on your topic. When choosing a video, look for videos that are around 3-5 minutes long. Videos that are longer than 7 minutes are typically too long for the attention span of your students.
Pros of using a video that is already created
- Save time from creating
- Don’t need to learn a new skill of video creating
Con of using a video that is already created
- Could take awhile to find exactly what you need
- Might have information not needed
Don’t Use a Video, Instead Use a Simple One Page Reading on the Topic
For students that don’t have access to technology at home, doing a flipped lesson could be difficult. For these students, you could send home a simple, one page reading of the information. The reading should just include basic information, vocabulary, and perhaps an example. The reading should also be written at their appropriate grade level or even one or two levels below.
Pros of using a reading instead of a video
- Does not require students to have access to technology at home
- All students are able to use it
Cons of using a reading instead of a video
- Only uses hte students sense of vision and auditory
- Not as engaging
Turn Your Already Created Lessons Into a Video

As mentioned earlier. If you already have slide presentations ready to go, you might want to consider turning them into a video. Your videos do not need to be fancy with sound and animation. Honestly, students would rather hear your voice than the voice of a stranger. It allows them to picture themselves in your classroom.
There are some things you might want to keep in mind when creating your own video:
- Keep the video short. 3-5 minutes is a good timeframe with no longer than 7 minutes
- Break up the topics into parts to allow for breaks in the video that you can later add checks for understanding
- Keep examples to a minimum to shorten the time frame. If you are doing a math type video, you could work through one problem yourself and perhaps have just one or two more.
- If your video had a lot of vocabulary or information, adding a wrap-up slide that summarizes the key parts might help.
Ready to get started with the Flipped Classroom Model? Get your FREE Help Sheet Here


