Halloween is my favorite holiday of the year and I love bringing in some Halloween science experiments for some spooky chemistry into my classroom! Whether it’s bubbling potions or eerie color changes, these activities captivate my students and help keep them engaged during the long month of October between school holidays. In this post, I’ll share five hands-on Halloween-themed chemistry experiments that will get your students asking for more.
# 1. Spooky Slime Creation
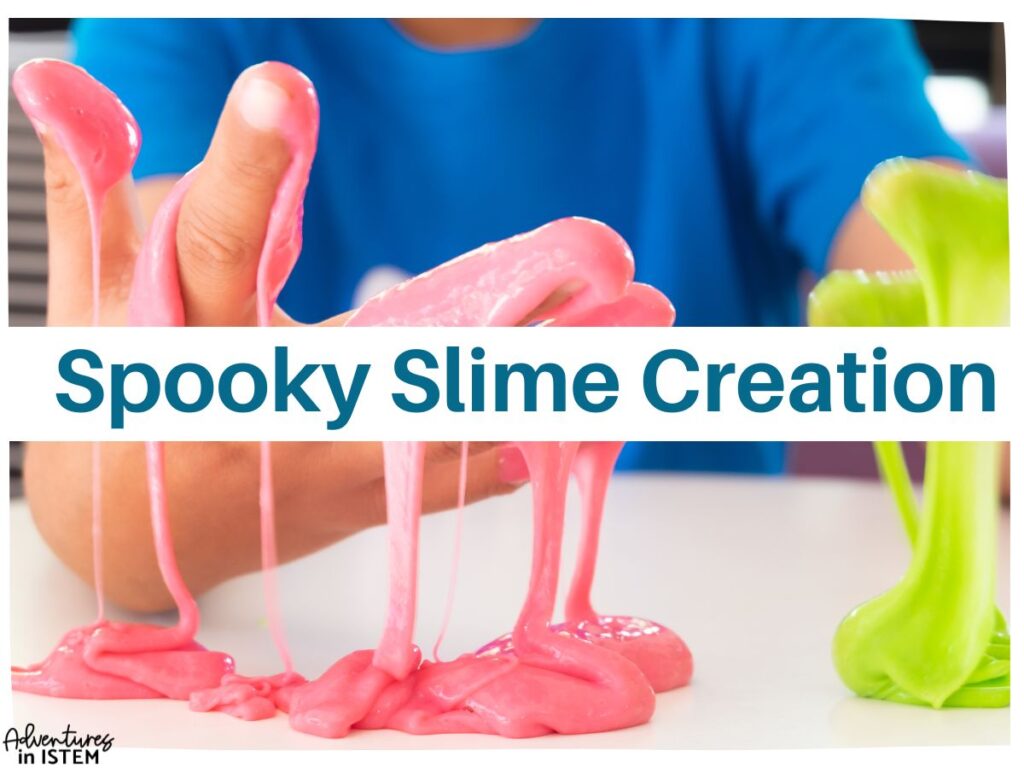
Who doesn’t love slime? This activity is a fun way to introduce students to polymers and non-Newtonian fluids. It’s a great activity between your states of matter unit and chemistry unit on polymers to get them thinking outside the box about what they already know. To get started, you’ll need white school glue, baking soda, contact lens solution, and food coloring. For an extra spooky twist, consider using Elmers glow-in-the-dark glue. (Disclaimer: this can get messy so you will want to make sure to do this activity with students you trust)
Basic Idea:
- Start with reviewing the three states of matter
- Mix glue with a small amount of baking soda and food coloring.
- Slowly add contact lens solution while stirring until the mixture turns into slime.
- Have students determine if the slime is a solid, liquid, or gas or doesn't follow the standard rules of the three states of matter
I like to have my students state their answer using the claim, evidence, reasoning explanation. This is a perfect time to introduce non-neutonian fluids and why it is important to think outside the box and think beyond what they are taught in school.
# 2. Bubbling Cauldrons with Dry Ice
The first unit I teach is states of matter and phase changes. The phase changes section occurs at the beginning of September which is a great time to find dry ice before it is all gone for Halloween parties. You can create “bubbling cauldrons” using dry ice, to help your students learn about sublimation. All you need is dry ice, warm water, dish soap, food coloring, and a large container.
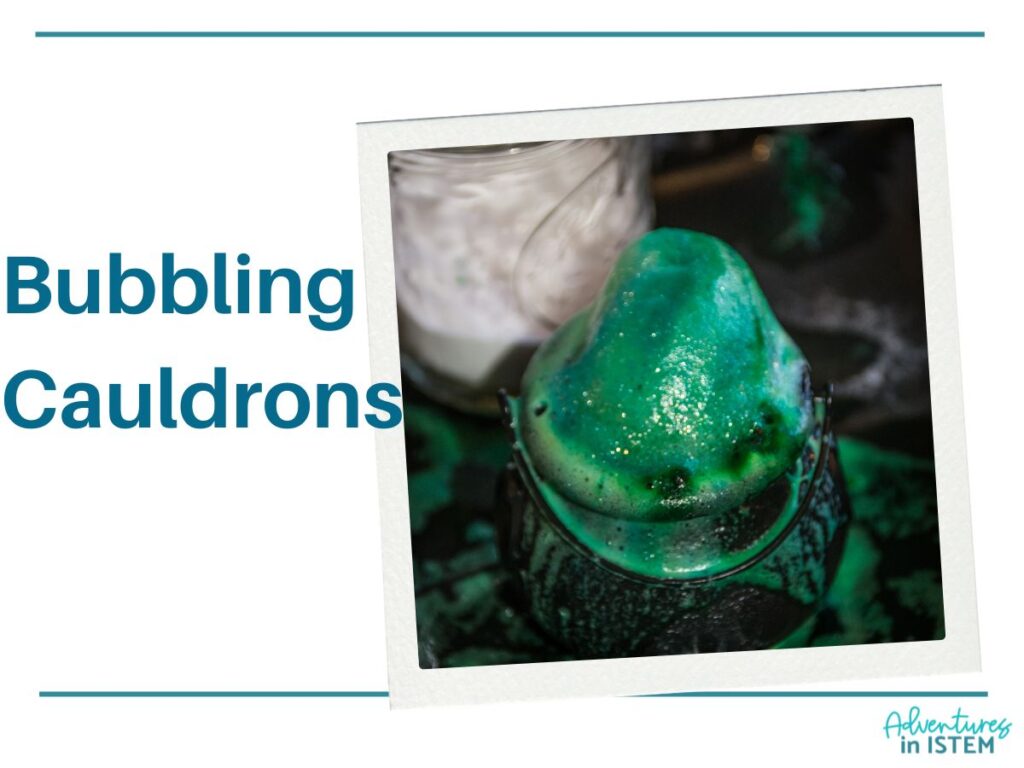
Basic Idea:
- Place a piece of dry ice into a large container filled with warm water.
- Add a few drops of dish soap and food coloring.
- Watch as the fog and bubbles form, creating an eerie cauldron effect.
What I like to do is have a piece of dry ice on the table by itself so they can see sublimation in action without being speed up with the addition of water. Last year I found a clear skeleton head planter that I use instead of the cauldron and that had an even greater impact because they could see the whole process.
# 3. Color-Changing Potion
This activity explores acid-base reactions with a color-changing potion. You’ll need red cabbage juice, baking soda, vinegar, and clear cups or beakers. (This can also be done with bromthymol blue instead of red cabbage juice)
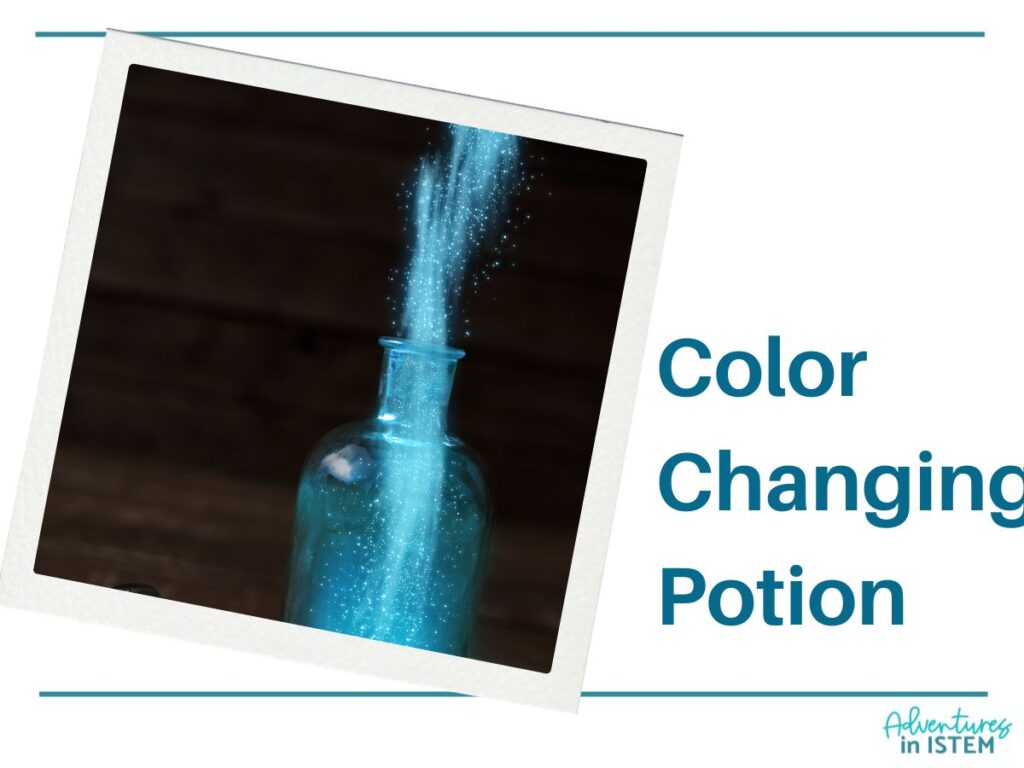
basic idea
- Have three test tubes or beakers set up with clear liquids (baking soda solution, vinegar, water)
- Prepare red cabbage juice by boiling chopped cabbage in water and straining the liquid. (this is not my favorite part because it smells bad, but so worth it)
- Pour the red cabbage juice into each solution and watch how the color changes
To extend this you can pour the vinegar solution into the baking soda solution to watch the color change again. You can also test different liquids like lemon juice and soap and have the students predict what color they will change.
# 4. Glow-in-the-Dark Reactions
Fall is the perfect time to find glow sticks at your local dollar store. In this activity we are testing the hypothesis that glow sticks glow brighter and longer in colder temperature than warmer temperature.
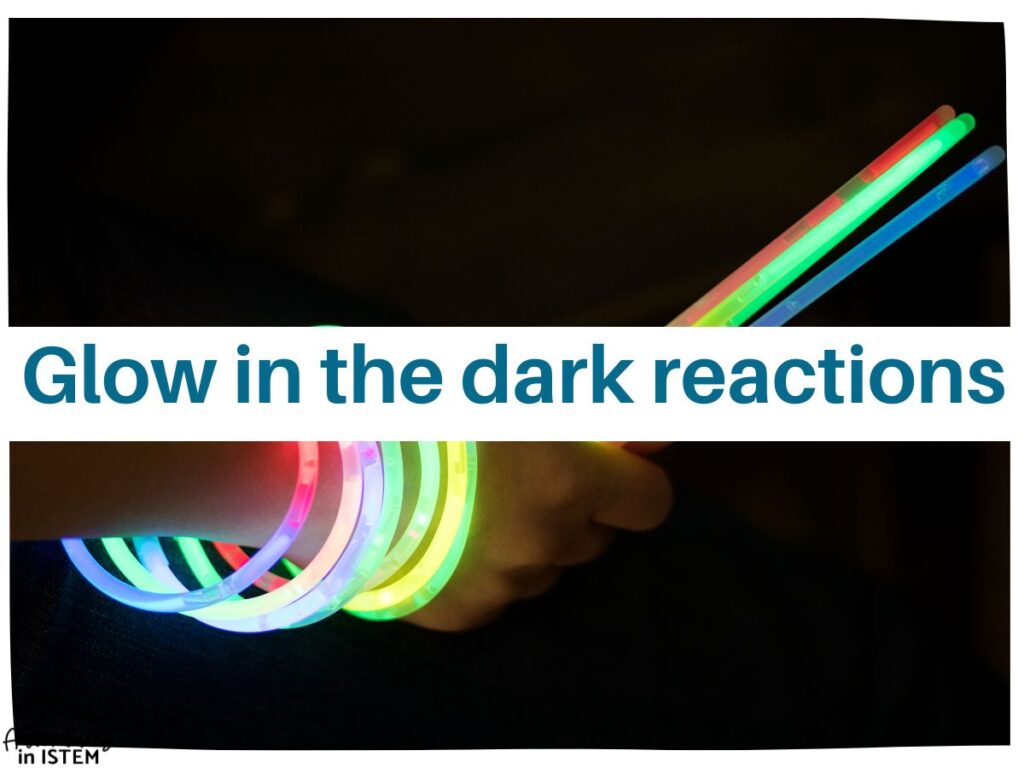
BAsic idea :
- Start off with three glow sticks that you activate at the same time
- Place one in a test tube that has ice water, one in a test tube with room temperature water, and one in a test tube with hot water
- After 30-45 mintues, turn the lights out to see if they are all glowing at the same brightness
You could also test it so that one is placed in the freezer, one in the classroom, and if you live in a warm climate, put one outside. Then check the next day to see if they are still glowing and the brightness they are glowing at.
# 5. Foaming Jack-O’-Lanterns
If you are looking for a fun demonstration to do on Halloween when the students are already crazy with the Halloween spirit, then you’ll want to do the foaming jack-o’-lanterns. You’ll need a carved pumpkin, hydrogen peroxide, yeast, dish soap, food coloring, and a tray large enough to hold the pumpkin.
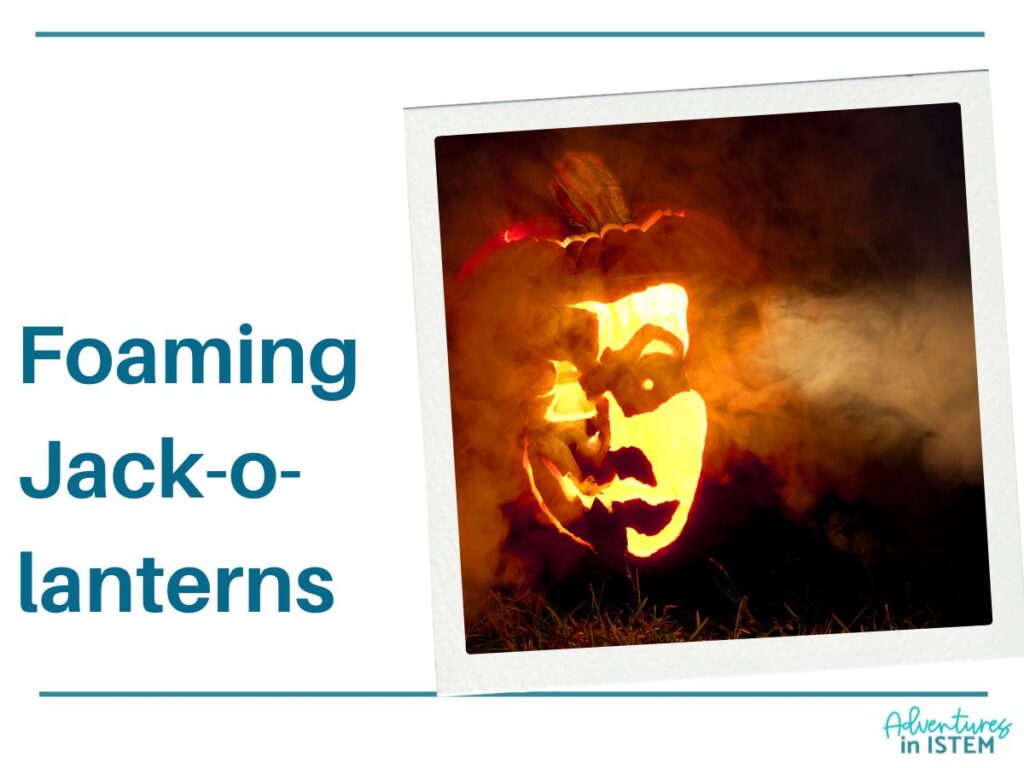
basic idea:
- Place the carved pumpkin on a tray and place a low container inside the pumpkin filled with a mixture of hydrogen peroxide, dish soap, and food coloring.
- Add yeast and watch as the pumpkin foams and overflows.
You can have the students determine if a chemical reaction occurred and explain how they know using a claim, evidence, reasoning explanation paragraph. You could also play around with different amounts of hydrogen peroxide to dish soap ratios to see if that effects the reaction.
These five Halloween science experiments for middle school chemistry are great for the fall season. Not only will your students have a great time, but they’ll also gain a deeper understanding of chemistry concepts that they can connect to the real world. I’d love to hear how these experiments go in your classroom!
For more fun and science activities, check out these other Halloween science projects.


