By the time Thanksgiving is upon us, my students are done with school, seemingly for the year. They’ve gone a long time without a break. Even with the small break for Veterans Day, they’re exhausted. Their brains are fried, and all they can think about is Thanksgiving break and getting a week off.
They’re tired. They don’t want to sit and get, and they don’t want anything that feels like heavy mental lifting.
So I don’t fight it. That week is when I pull out these hands-on Thanksgiving science activities. Students are still doing real critical thinking. They just don’t realize it.
1. The copper chloride and aluminum lab
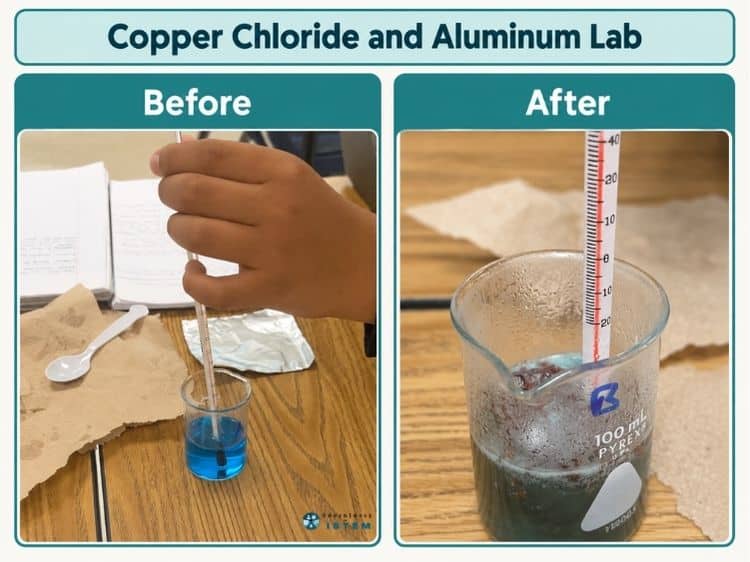
This is one of my favorite chemical reaction labs, and I happen to be teaching chemical reactions at this time of year.
Students drop a piece of aluminum foil into a blue-green copper chloride solution, and then they watch. The foil starts to fizz. The beaker gets warm. Reddish-brown copper starts to form on the foil, and the blue color fades out of the solution. There is so much happening that students have to slow down and sort it out. Which of these are signs of a chemical reaction? Which ones are just observations?
That sorting is the real learning. Students gather evidence for color change, temperature change, and gas production, then decide whether a new substance formed.
If you don’t have the chemicals or the time to set up a full lab, it also works as a demonstration. My Copper Chloride and Aluminum Chemical Reaction Lab comes with a video demonstration and paper and digital handouts, or you can grab all 4 hands-on chemical reaction labs together.
Safety: goggles and gloves for this one, and the solution gets warm.
2. The turkey escape chain reaction
The turkey is making a run for it, and the only way to stop it is a chain reaction. Students build a contraption where one thing sets off the next, and the last step drops a cup over the “turkey” (a small toy or a paper turkey on a block).
The catch is that it has to be at least four steps long, and students have to explain the energy at every step.
Materials you’ll need: dominoes or books to stand on end, marbles, paper towel tubes cut in half for ramps, string, tape, paper cups, small toy cars, and a binder or cardboard to make a slope.
What students will be doing:
- Planning the chain on paper first, with an arrow between each step and a label for the type of energy at that point.
- Building it one step at a time and testing each link before adding the next.
- Running the whole chain and recording which step failed, if one did.
- Fixing the weak link and running it again until the cup lands on the turkey.
The science behind it: every step is an energy transfer. A marble at the top of a ramp has potential energy. Once it rolls, that becomes kinetic energy, which knocks over the domino, which pulls the string. When a chain stops, students have to figure out where the energy didn’t make it to the next step and why. That’s the engineering design process and energy transfer in one activity.
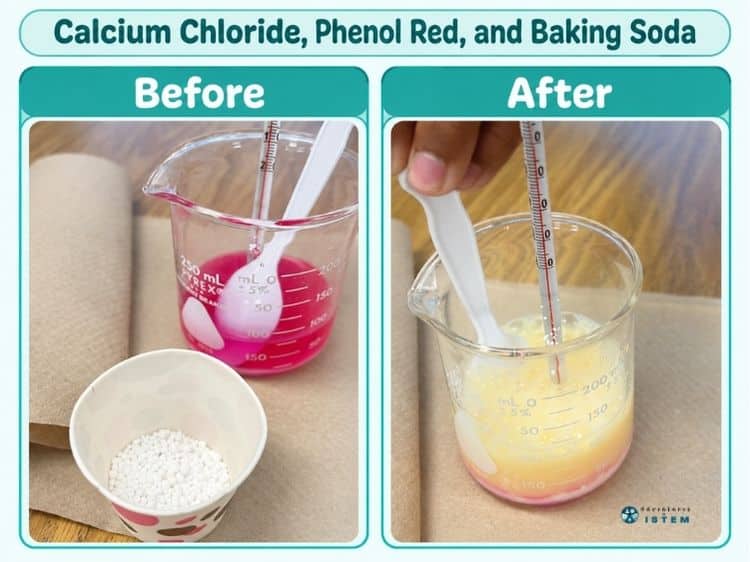
3. Calcium chloride, baking soda, and phenol red in a bag
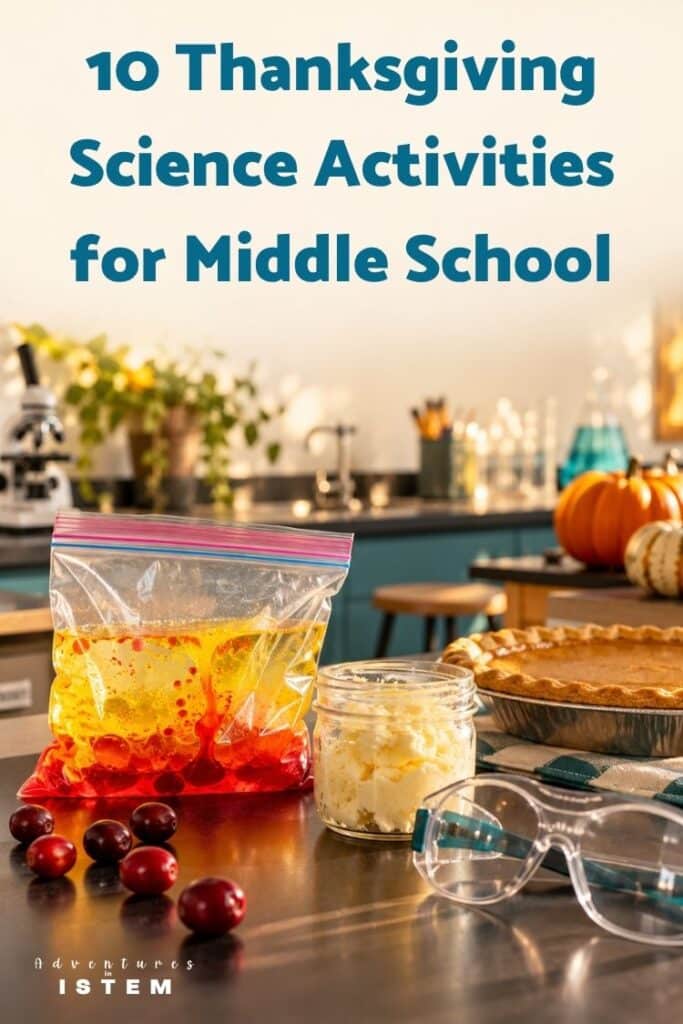
Another chemical reaction lab I love. Students put calcium chloride and baking soda in a zip-top bag, add phenol red, seal it, and squish.
Then a lot happens at once. The red solution changes color. The bag puffs up with gas. The bag changes temperature in their hands. Students have to decide which of those signs point to a chemical reaction and back it up with what they observed.
It’s quick to set up, it’s contained in a bag, and students get to feel the temperature change instead of just reading about it.
This one is in my Calcium Chloride, Sodium Bicarbonate, and Phenol Red Lab, which also comes with a video demonstration if you’d rather show it than run it.
Safety: goggles, and keep the bag sealed until students are done observing.
4. The pie stand challenge
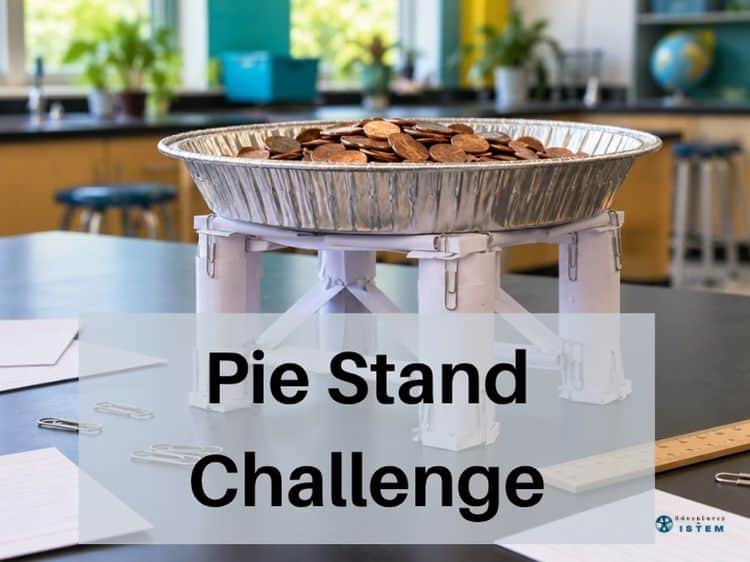
There’s always one more pie than there is room on the counter. In this challenge, students build a pie stand out of index cards that lifts the pie off the table and holds as many pennies as possible.
The twist is no tape. Students can only fold, roll, slot, and clip.
Materials you’ll need (per group): 20 index cards, 10 paper clips, a disposable pie tin, a ruler, and a cup of pennies.
What students will be doing:
- Building a stand that’s at least 15 cm tall with the pie tin resting on top.
- Adding pennies to the tin 10 at a time and recording the total before it collapses.
- Sketching where the stand failed: did it bend, buckle, slide, or tip?
- Redesigning the weak spot with any leftover cards and testing again.
The science behind it: this is all about forces. The pennies push down, and the stand has to push back up just as hard. Students see that a folded or rolled card can handle a lot more push than a flat one, and that a stand with its weight centered holds up better than one that leans. The sketch of where it failed is the best part, because it gives them evidence for why their design worked or didn’t.
5. The coffee cup challenge
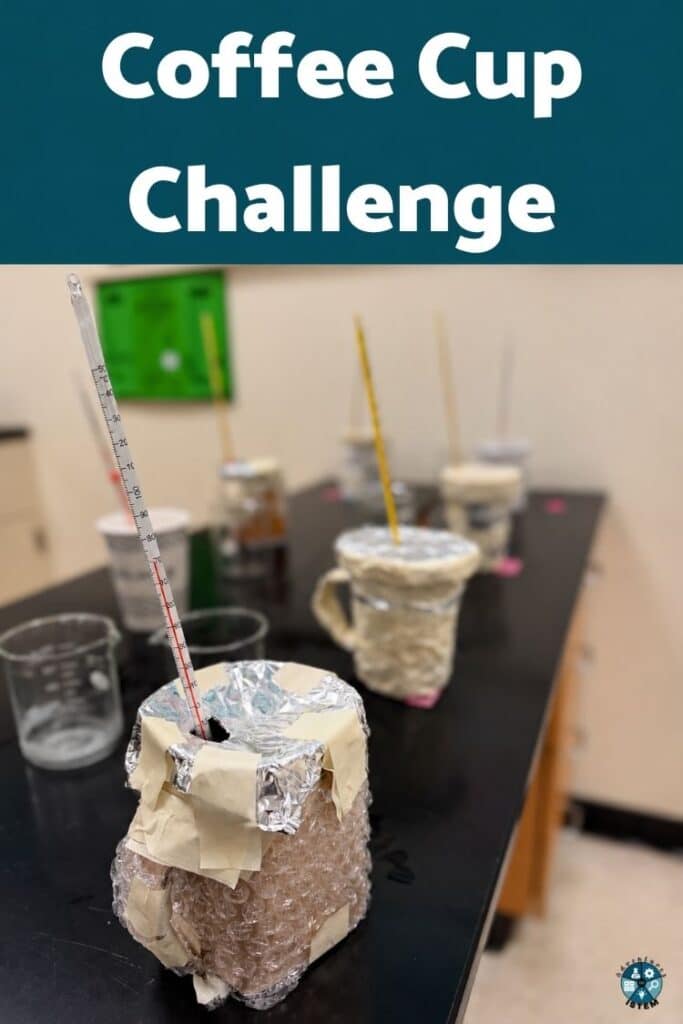
If you’re teaching thermal energy, the coffee cup challenge fits right into a cold November week. Students use the engineering design process to design a cup that keeps the “coffee” (hot water) hot the longest. They build their design, test it with a thermometer, and compare their temperature data with the rest of the class.
It turns into a real conversation about conductors, insulators, and how thermal energy moves from hot to cold. And the data gives students something real to write a claim about.
It’s part of my Scientific Method and Engineering Design inquiry investigations, along with the paper towel challenge.
6. Make butter in a jar
This one is simple, and students are surprised every time it works. They shake cream until it turns into butter, just in time for the Thanksgiving rolls.
Materials you’ll need: heavy whipping cream, small jars with tight lids (baby food jars or small mason jars), a pinch of salt (optional), and crackers if you want students to taste it.
What students will be doing:
- Filling a jar no more than halfway with cream so it has room to move.
- Taking turns shaking it hard and writing down what they see every 2 minutes. It goes from liquid, to whipped cream, to a sudden split into a lump of butter and a thin liquid called buttermilk. This usually takes 10 to 15 minutes.
- Pouring off the buttermilk and observing what’s left.
- Comparing results with a group that used cream at a different temperature (cold from the fridge vs. room temperature) to see which turns to butter faster.
The science behind it: cream is a mixture of tiny fat droplets spread through water. Shaking makes the fat droplets crash into each other until they stick together and separate out. That makes this a great one for the question students always mix up: is this a physical change or a chemical change? Nothing new formed. The fat and the liquid were in the cream the whole time.
Check for dairy allergies before anyone tastes it.
7. The Thanksgiving dinner sort: physical or chemical change?
Thanksgiving dinner is full of physical and chemical changes, and this card sort makes students prove which is which.
Give each group a set of cards with things that happen while making dinner: butter melting, turkey roasting, rolls rising, mashing potatoes, pie crust browning, cranberries bursting open in the pot, ice melting in a drink, and cream being whipped. Students sort each card into physical change or chemical change, then write down the evidence they used. Did a new substance form? Was there a color change, a gas, or a new smell? Can you change it back?
The rolls rising and the cranberries bursting start the best arguments. (Hint: the rolls rise because yeast makes a new gas, and the cranberries burst because the water inside turns to steam.)
To finish, have students pick one card and write a CER: Is roasting a turkey a physical change or a chemical change?
My Chemical Reactions and Chemical Changes digital notebook goes right along with this one if you need notes and practice to back it up.
8. Balloon “rolls”: watching yeast make gas
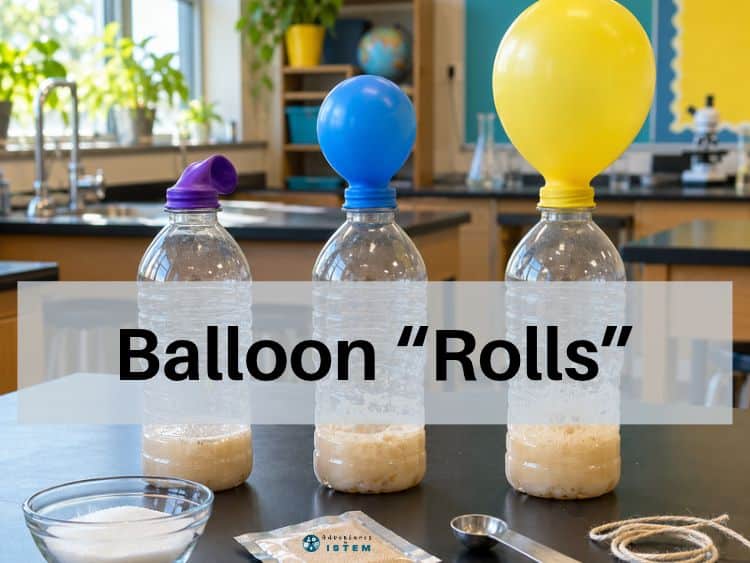
Ever wonder why the Thanksgiving rolls rise? In this investigation, students find out by trapping the gas yeast makes.
Materials you’ll need: small plastic water bottles, balloons, packets of active dry yeast, sugar, warm water, a funnel, and a string and ruler to measure the balloons.
What students will be doing:
- Adding 1 teaspoon of yeast and 1 teaspoon of sugar to a bottle, then about 1/2 cup of warm water (warm to the touch, not hot).
- Swirling it and stretching a balloon over the opening.
- Wrapping the string around the widest part of the balloon every 5 minutes, measuring it, and graphing the size over time.
- Changing one variable per group: no sugar vs. 1 teaspoon vs. 2 teaspoons, or cold vs. warm vs. hot water. The hot water group usually gets a surprise when their balloon barely grows, because water that’s too hot kills the yeast.
The science behind it: yeast are living things. They break down sugar for energy and give off carbon dioxide gas, which fills the balloon. In bread dough, that same gas gets trapped and makes the rolls rise. It connects living things, chemical reactions, and data analysis in one activity.
9. A mystery powder CSI case
When my students are fried, a mystery is the one thing that pulls them back in. CER is my wheelhouse, and a forensic case is my favorite way to practice it.
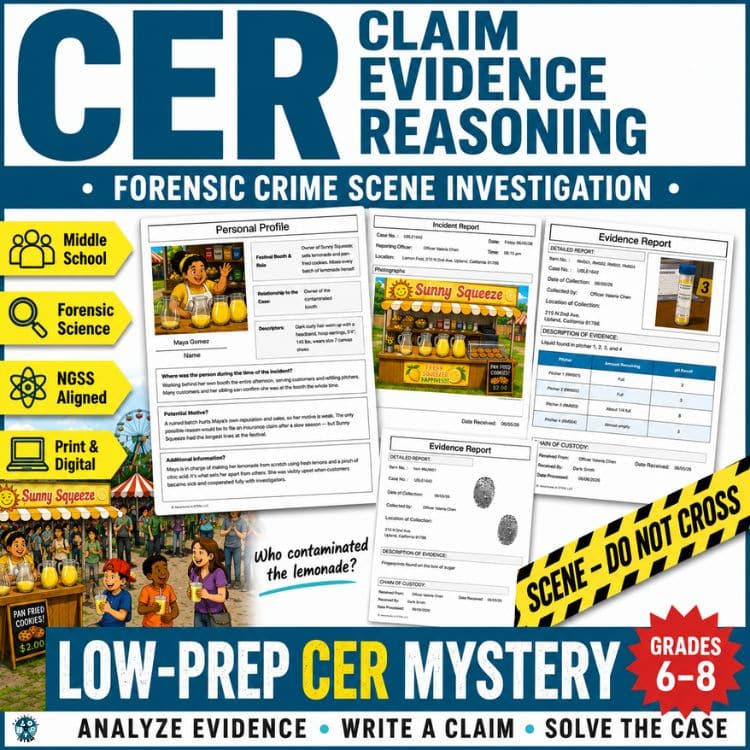
In my Case of the Contaminated Lemonade CSI investigation, someone tampered with the festival lemonade, and students have to figure out who. They test an unknown white powder using real chemistry: pH, how it reacts with vinegar, and whether it dissolves. Then they analyze the incident report and forensic reports and write a claim evidence reasoning argument to solve the case.
It’s chemistry, it’s a mystery, and students are writing a full CER without complaining about it. That’s a win the week before break.
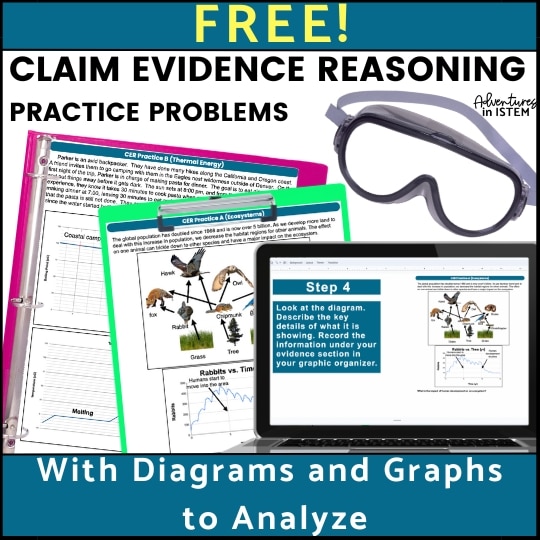
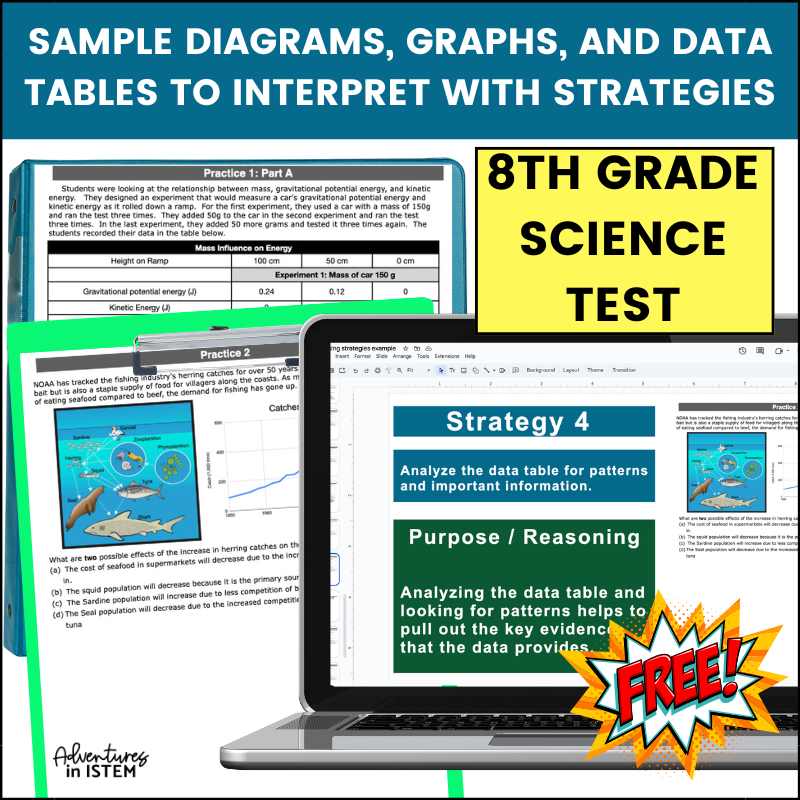
Want your students to keep practicing after the case is solved? Grab my free CER practice problems with diagrams.
10. The turkey zip line
The turkey is headed for the hills, and it’s taking the zip line. Students send a paper turkey down a sloped string and figure out what makes it go faster.
Materials you’ll need: about 3 meters of string or fishing line, a drinking straw, a paper turkey (cardstock works best), a paper clip, tape, a few pennies, a meter stick, and a stopwatch.
What students will be doing:
- Threading the straw onto the string, then tying one end high (a cabinet handle or the top of a door frame) and the other end low near the floor.
- Hanging the turkey from the straw with a paper clip and letting it go from the top.
- Timing the ride, measuring the length of the line, and calculating speed (distance divided by time).
- Changing one thing at a time and running three trials each: how high the top end is tied, or how many pennies are taped to the turkey.
The science behind it: gravity pulls the turkey down the line, and friction between the straw and the string pushes back. A steeper line gives gravity more to work with. Adding pennies changes the mass. Students graph their speeds and use the data to explain which change made the biggest difference, which is a great setup for a quick CER.
Pick one for that last week
Pick the one that fits your unit and your students, and let that last week before break be filled with fun and science.
What do you do with your students the week before Thanksgiving? I’d love to hear what keeps your room going right up to the break.