I’ve always loved the idea of a flipped classroom. Students learn the material at their own pace, and then we get to spend our class time doing the fun stuff. Labs, activities, investigations. All the things I would much rather be doing with my students than standing up front giving notes.
But here’s the problem I’ve been running into.
Getting students to actually do the learning at home.
I’ve been teaching for over 27 years, and students today are different from the students I had even 10 years ago. When they get home, a lot of them are done with school. The last thing they want to do is watch a video or take notes for science class.
And I get it.
But when 35–40% of your students aren’t doing that part at home, the whole flipped classroom idea starts falling apart. Now you’ve got a big group of students walking into class who aren’t ready for the activity you planned.
So this year, I decided to change things up.
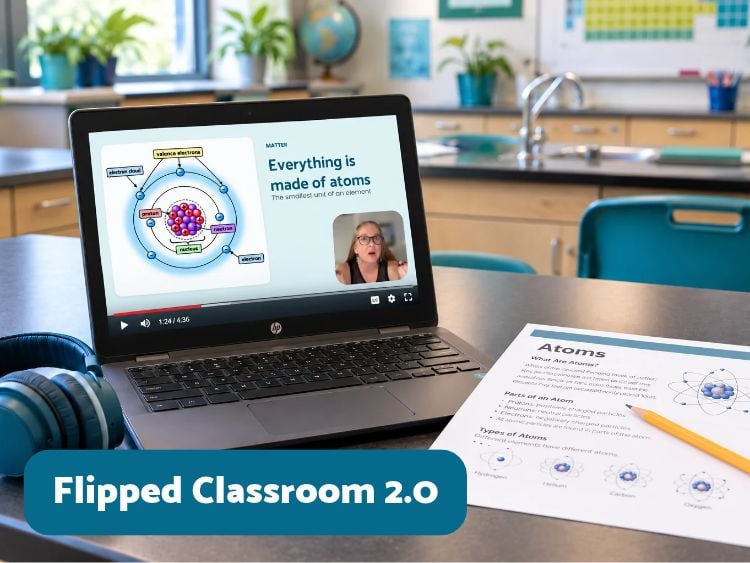
I’m calling it Flipped Classroom 2.0.
And so far, I’m really liking how it’s working.
I’m Still Flipping, Just Not at Home
The part of the flipped classroom I’ve always loved is that students can learn at their own pace. I didn’t want to give that up.
What I did want to get away from was standing at the front of the room going through a slide deck while 30-something students tried to keep up with taking notes.
You know how that goes. Some students are writing everything down, some are still trying to finish the last slide, and others have already checked out.
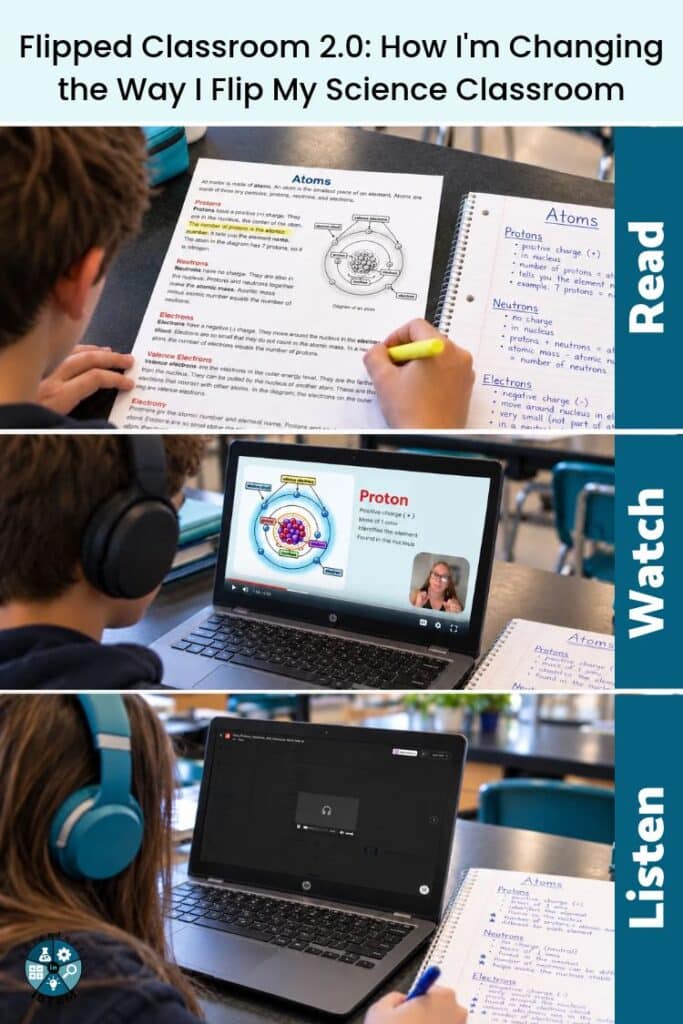
Instead, I’m having my students learn the material through three different stations right in my classroom.
At each station, they’re learning about the same topic, but in a different way. They’re reading, watching, and listening. And as they go through each station, they’re adding information to their notes.
They still get to work at their own pace, but now I know they’re actually getting the information because they’re doing it in class.
Here’s what my stations look like.
Station 1: Read
At the first station, students read a one-page informational text about whatever we’re learning.
And when I say one page, I mean one page. I don’t want three pages of background information or a bunch of extra details they don’t need right now.
I want the important information, written at a level my students can understand.
Students read, mark up the text, and add information to their notes.
I’ve been using Claude to help me with these readings. I already have readings for my science units, so I upload those and ask Claude to condense them into a one-pager with just the information I want students to know. It keeps the science but gets rid of the extras and modifies it to the reading level my students are at.
This has been especially helpful for my English learners. They can focus on the important science content without having to work through a bunch of extra language.
And I still want them interacting with the reading. They’re highlighting, underlining, circling vocabulary, and writing things down. I don’t want them just skimming a page and calling it done.
If you’re looking for science readings to use, I have a whole collection of NGSS Middle School Science Readings that work great for this. You can use them as they are or condense them into shorter one-pagers like I’m doing.
Station 2: Watch
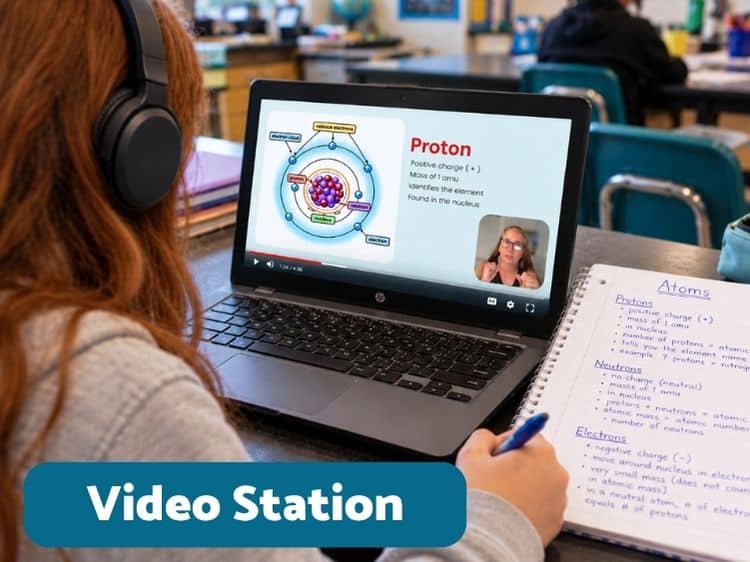
At the second station, students watch a short video on the same topic.
And by short, I mean about two minutes.
I’ve found that I really don’t need a 10-minute video to explain most of the concepts we’re learning. I’d rather students watch something short that gets right to the point. Research on video engagement found that students watched nearly all of the videos under 6 minutes, but only about half of the videos that were 9 to 12 minutes long. I’ve found that with my students, anything over 4 minutes is too long. They start tuning out.
The video gives them a chance to see what they just read about. They can see the models, diagrams, and animations, which is especially helpful in physical science when we’re talking about things like atoms that students can’t actually see.
For example, when we were learning about atoms, I used my own Atoms video from YouTube.
I have a number of short science videos on my YouTube channel that I’ve been using for this station. Most are around 2–3 minutes.
But you don’t have to create your own videos.
You can actually use Google NotebookLM to make them. Just upload your reading and have it create a video overview.
One thing I’ve learned is to choose the short version. That usually gives me a video around a minute and a half, with graphics and visuals, almost like a YouTube Short.
The longer version is around seven minutes, and that’s just longer than I want for this station.
Students watch the video and add anything new they learned to their notes.
Station 3: Listen
This is the station I’m most excited about because it’s something new I’m trying this year.
Podcasts!
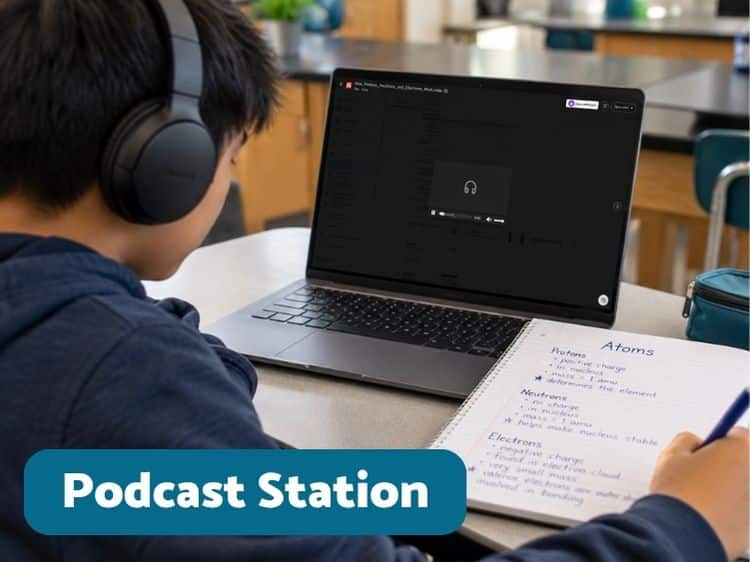
I started playing around with the podcast feature in Google NotebookLM, and I thought, why not have students listen to one as part of their learning?
If you haven’t tried it, NotebookLM takes the information you give it and creates a podcast with two people having a conversation about the topic.
And they’re actually pretty good!
The two speakers explain the science, talk back and forth, and give real-world examples. It’s a lot more interesting to listen to than someone just reading information aloud.
But there’s another reason I wanted to add this station.
I have quite a few long-term English learners, and one of the areas they struggle with on the ELPAC is listening.
So I wanted a way to give them more opportunities to practice listening without always having something written in front of them.
At this station, students listen to the podcast and add information to their notes.
I create the podcasts in Google NotebookLM using the same reading from Station 1. I upload the reading, choose the audio overview, and select the brief format.
That gives me a podcast around a minute and a half long.
And trust me, you want to choose brief! Otherwise, NotebookLM can give you a 7–10 minute podcast, which is way too long for what I’m trying to do.
Now, you might be wondering why I’m not using Brisk to make the podcasts.
I actually tried that.
The problem is that Brisk gives students the transcript along with the audio, and there’s currently no way to separate them.
For most activities, having a transcript would be great. But for this particular station, I don’t want students reading along. I want them practicing their listening skills.
I even talked to a representative from Brisk about it, and they’re looking into whether they can separate the transcript from the audio.
For now, NotebookLM works better for what I’m trying to accomplish.
What I Like About This Setup
What I really like is that students are getting the same information three different ways.
First, they’re reading about it and marking up the text.
Then they’re watching a video where they can actually see what they’re learning about.
And finally, they’re listening to a conversation about the same topic.
Each time, they’re hearing or seeing the information in a slightly different way, and each time they’re adding to their notes.
I also like that students are doing something at every station. They’re not just sitting there watching a video or listening to me talk.
And one of the biggest advantages for me is that everyone has the opportunity to get the notes they need.
I’m not depending on them to do something at home before they come to class. I’m not worrying about students missing information because they couldn’t keep up with my slides.
They can go through the material, add to their notes, and come back to something if they need to.
It also makes things easier when students are absent. I can give them access to the reading, video, and podcast, and they can work through the material on their own.
And I still get to use my class time for the things I really enjoy teaching, like labs and hands-on activities.
Want to Try It in Your Classroom?
The nice thing about this is that you don’t have to completely change how you’re teaching.
You probably already have most of what you need.
Start with a topic you’re going to teach in the next week or two.
For the reading station, take a reading you already use and condense it into one page. I’ve been using Claude for this, but you could use whatever AI tool you prefer.
For the video station, find a short video that explains the same concept. You can use something from YouTube, one of your own videos, or create a short video in NotebookLM.
For the listening station, upload your reading to NotebookLM and create a brief podcast.
Then have your students work through the three stations, adding to their notes as they go.
That’s it.
You don’t need to redo every lesson or flip an entire unit. Try it with one topic and see how it goes.
I’m still figuring out little things as I go, but I really like this version of the flipped classroom. I get to keep the part I’ve always loved, students learning at their own pace, without depending on them to do the learning at home.
I’m curious. Are you still using the traditional flipped classroom, where students watch videos at home? Or have you found a different way to make it work with your students?
I’d love to hear what you’re doing in your classroom.