

Life is about making mistakes and learning from them. Anytime you try something new, you are going to make mistakes. It is an unavoidable part of life. Science is no different. Every discovery you teach this year sits on top of a pile of failed experiments and ideas that turned out to be wrong. That’s not the embarrassing part of science. That’s how science works. So when a student is terrified of being wrong, they’re not just struggling with confidence. They’re avoiding the exact thing science and life asks them to do, which is to try, fail, and try again with better information.
That’s why I treat growth mindset as a science skill, not a fluffy add-on or a poster by the door. If I want students to take risks in labs and argue from evidence, I have to first convince them that being wrong is part of the job.
What does a growth mindset actually mean in a science room
Strip away the buzzwords, and it’s simple. Growth mindset means your ability isn’t fixed. That you realize that learning is a process of mistakes, and to get better, you need to make them. The opposite, a fixed mindset, is the kid who says “I’m just not a science person” and stops trying.
Growth mindset examples to help your students
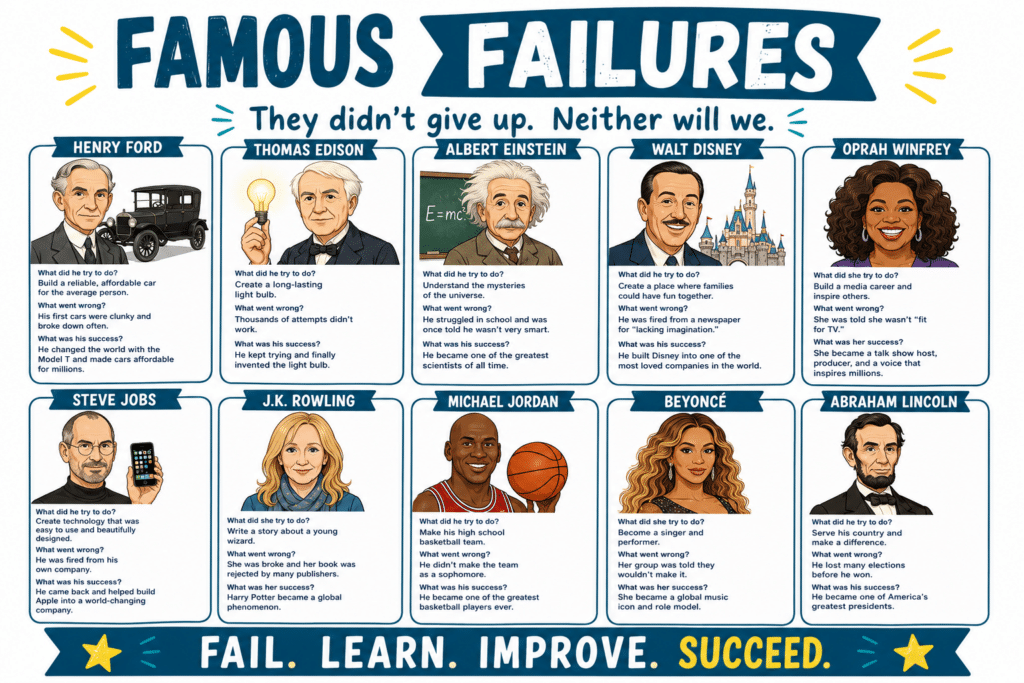
1. Famous Failures
This is my signature growth mindset activity, and it’s the anchor of my whole approach. Students dig into well-known scientists, inventors, and other big names who failed over and over before they succeeded. The light-bulb attempts that didn’t work. The discoveries that came from a mistake. Then they connect it back to their own learning.
What interests the students is that these aren’t random people. They’re the names students already know as highly successful and recognized people. By the end, “I’m bad at this” starts to sound a lot like “I’m not there yet.” For more information about the lesson I use, check out:
2. Calling out mistakes
For I want students to know that mistakes happen all the time to everyone. When I make a mistake in class, I call it out. If a student catches me doing something wrong, usually it’s a misspelled word- I thank them and say accidents happen, and I fix it then. If I am trying something new, I let them know and ask them for feedback so I can improve. If it is a complete bomb, we laugh about it and think of ways to make it better. I show them that I am not afraid of changing things and trying new things.
3. The “yet” wall
This one is tiny, and it works. Anytime a student says “I can’t do this,” the move is to add one word. “I can’t do this yet.” You can keep a spot on the wall where students reframe their “I can’ts” into “not yets”. They can put their saying on a Post-it and add to the wall. I can’t get a 4 on my CER yet. I can’t get a B in science yet. You get the idea.
4. Productive struggle challenge
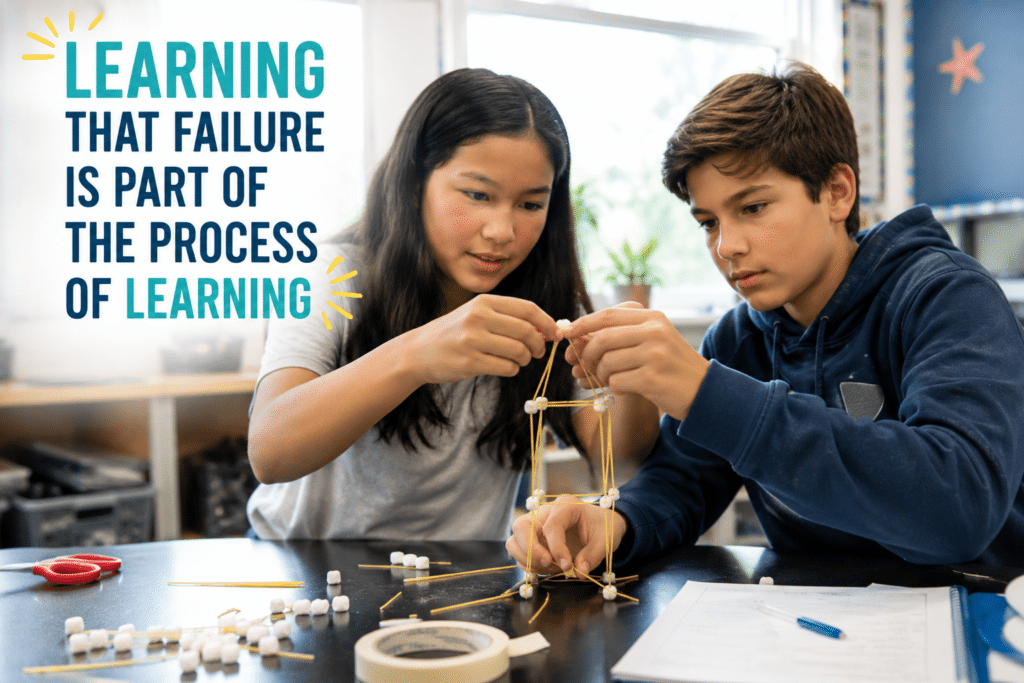
Give students a genuinely challenging task, something they can’t solve on the first try, and resist the urge to jump in with the answer. Let them struggle, talk through their ideas with classmates, and experience what it feels like to work through a problem. Then have them reflect on the experience. That reflection is the most important part. Students begin to realize that feeling stuck is not a sign they are failing. It is a sign that their brain is doing the hard work of learning.
One of my favorite activities for teaching this is the Crayon Squares challenge. Give students ten crayons arranged to make three squares. Their challenge is to move only two crayons so the arrangement forms two squares. The solution is to move the two middle crayons. Most students struggle with this at first, which is exactly the point.
When a student solves it, have them quietly move the crayons back to the original position and draw their solution on a piece of paper instead of announcing the answer. This keeps other students from simply copying what they see and encourages everyone to continue thinking.
After about five minutes, begin walking around the room. When you see a student pick up one of the correct crayons, clap your hands. If they pick up the wrong crayon, don’t clap. Students quickly realize that the clapping is feedback. It tells them they are on the right track without giving away the solution. They still have to figure out the rest on their own.
This activity also helps students understand what feedback really is. Feedback is not the answer. It simply lets us know whether we are moving in the right direction. But students only receive that feedback if they are willing to try, make mistakes, and keep working through the challenge.
After this challenge, they can do a more advanced lab or an engineering design project that requires them to solve a problem.
Keep it going past September.
Growth mindset isn’t a first-week event you check off and move on from. It lives in how you respond the rest of the year. When a lab flops, you say “Great, what did that tell us?” When a student bombs a quiz, you talk about strategy instead of ability. Those small daily responses are what make the mindset real, long after the Famous Failures posters come down.
This pairs naturally with your scientific method and engineering design process routines, because both are really about the same thing: teaching students that science is a process of trying, learning, and revising.
Pick one for week one.
You don’t have to implement all four strategies at once. Choose one to try during the first week of school, then gradually add the others as the year goes on. The goal is to create a classroom where students aren’t afraid to make mistakes because they know mistakes are part of learning. In fact, many students who choose not to complete an assignment and accept a zero aren’t being lazy. They’re often afraid of getting the answer wrong. When students feel safe taking risks, they’re much more willing to participate, persevere, and learn.