I try to plan out my next week’s lessons before I head out on Friday. But life usually gets in the way, and so it’s usually Saturday or Sunday morning, trying to figure out what I’m going to teach and get it all done before the kids wake up, which usually doesn’t happen. It used to take me a long time to organize all of my activities and decide which ones would be best for this year’s students and how I could modify them to make them better.
AI changed how I plan. It became my personal teaching assistant to help me brainstorm new ideas, modify my lessons, and plan things out.

A few notes about using AI
One thing to realize with AI is that the better the input and directions, the better the output. So give it your standard, your grade level, and your style up front. If you feed it “make a science lesson,” you’ll get something generic and useless. If you feed it your NGSS standard, your students’ reading level, and how you like to run class, you’ll get something you can actually use. Even with that said, you will still need to modify and tweak. AI programs are not meant to do everything for you the first time. ChatGPT is called chat because you are supposed to have a conversation with it. So give it a prompt and then have a conversation until it is exactly what you are looking for.
Different AI tools to help you in planning
1. Build a lab fast with MagicSchool
If you need a hands-on lab for your students but you’re not sure what it should be about or how to set it up, MagicSchool is the AI tool I use. It has a tool called Science Labs that does a really nice job.
Just give it a description of what your students are learning, their grade level, the standard you’re covering, and, for me, I always add that I want it to use everyday objects that are easy to find. MagicSchool does the rest. It gives you the objective, safety information, materials, background information, procedures, a data table, reflection questions, and an assessment at the end.
I tried it with Newton’s Second Law, and it created a lab where students used toy cars, washers, and a cardboard ramp. Simple, inexpensive, and easy to set up.
2. Different ways to use Claude
Now Claude, Chat, and Gemini all do about the same thing. However, at the time of this writing, I find that Claude does a better job at these three things.
A. Draft a 5E lesson sequence with Claude
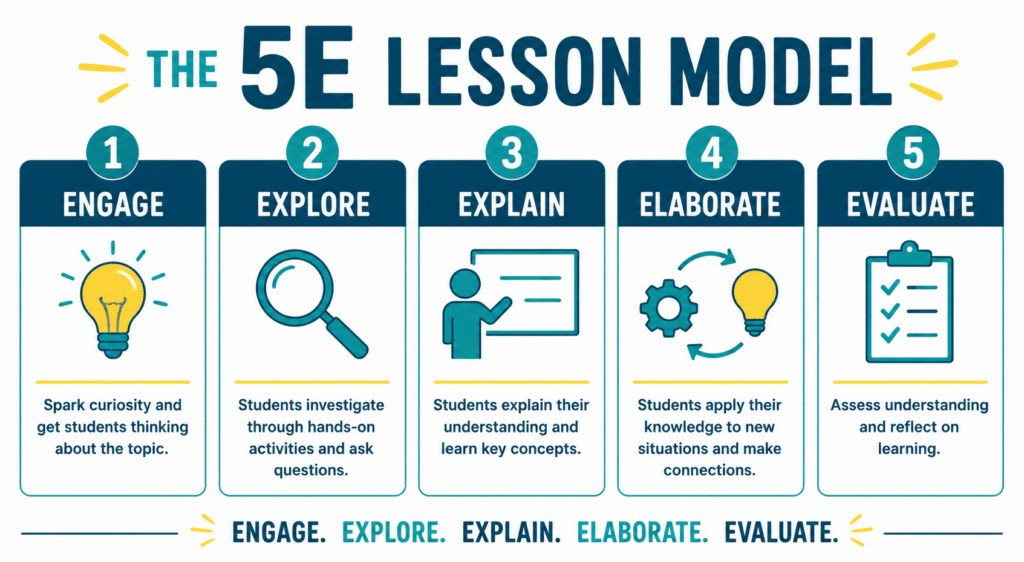
The 5E model is great, but building a full lesson sequence by hand takes a lot of time. I give Claude an NGSS standard, the activities I’ve used before, how long I like each section to take, and what I typically do during each phase. Then I ask it to put everything together into a complete 5E lesson.
It does a great job deciding which activities fit best in the Engage phase, which ones belong in Explore and Elaborate, suggesting different ways to handle the Explain phase, and even giving me ideas for the Evaluate phase. Then I look it over, make a few changes, give it some feedback, and bam, my 5E lesson is done. You can see how I do it in this video (scheduled)
B. Differentiate questions and reading levels with Claude
This is the one that has made the biggest difference for my students. I paste my content into Claude and ask it to rewrite it at different reading levels based on my students’ needs.
It seems like students get tracked, not intentionally, but because certain classes are only offered once during the day. As a result, many of the students who are reading two or three grade levels below their current grade end up in the same class. Having Claude rewrite the content so they can better access it doesn’t water down the science. It simply makes it easier for them to understand.
I also use Claude to modify my questions. I can turn open-ended questions into multiple-choice or multiple-answer questions, or take multiple-choice questions and turn them into open-ended ones. I can ask it to create easier questions, more challenging questions, or a mix of both. It’s the same science content, just different ways for students to access it and different ways for me to assess what they know.
C. Write CER prompts and rubrics with Claude
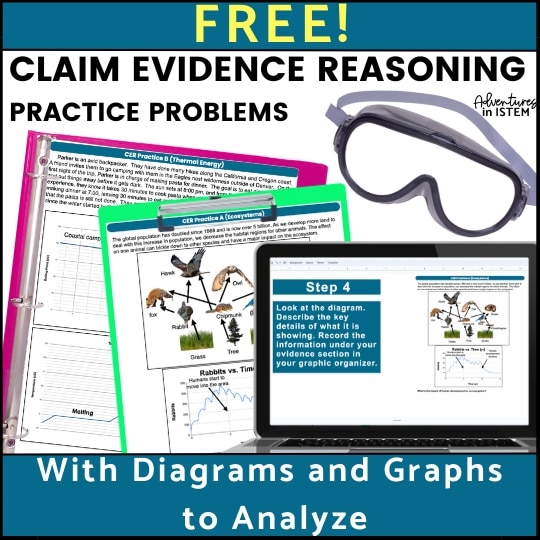
Claim, Evidence, and Reasoning is my wheelhouse, and AI is great for creating CER practice that looks and feels like a state test. I give Claude the standard I’m teaching, what I want students to show, and a couple of example CERs.
I will say that giving examples makes a big difference. AI does a much better job when it can see exactly what you’re looking for. If you don’t have examples yet, that’s okay. Once you’ve created a few, you can reuse them over and over, and the whole process gets even faster.
Once Claude has that information, it creates a CER practice problem similar to what students would see on a state test. Then I can ask it to create a scoring rubric, a student checklist to guide their writing, and even a sample response. Instead of spending hours creating everything from scratch, I can spend my time making sure it’s exactly what my students need.
3. Create Podcasts with Brisk Teaching
Something new I’ve started doing is moving away from the flipped classroom model and using science station rotations for the Engage phase of the 5E model. I already had one-page readings and short science videos, but I wanted one more way for students to interact with the content.
That’s where Brisk comes in. I have it turn my YouTube video into a podcast so students can practice their listening skills while learning the science. Then I use Brisk’s Boost activity to create interactive checks for understanding that students complete as they listen.
Now my students have a reading, a video, and a podcast. Three different ways to learn the same material. As they move through each station, they add to their notes, building on what they learned at the previous one. By the end, they have a much stronger foundation of knowledge before we move into the rest of the lesson.
4. Creating infographics and slide decks with NotebookLM
One way I like to start the Explore phase is by having students use a diagram, in this case an infographic, to gather information about the topic. To create the infographic, I use NotebookLM. I upload my one-page reading and ask it to create a scientific infographic based on the content.
Students use the infographic to record key information, then they share their ideas with classmates and write a summary. Once they’re finished, they upload their summaries into NotebookLM and ask it to create an infographic based on what they wrote.
Then comes the fun part. Students compare the infographic they created from their summary to the one I originally gave them. It’s a great way for them to see if they included the important information, where they left out details, and how they can make their summaries stronger. Here is a video of how I use it (video is scheduled)
NotebookLM can also create a slide deck from your reading, or even from other sources like websites and YouTube videos, giving you even more ways to present the same content.
Where AI shouldn’t replace you
Here’s the honest truth. AI is a planning partner, not the teacher. It doesn’t know your kids, it sometimes gets the science wrong, and it has no idea which class period needs the slower version. So everything it gives you is just based on the information it has. Check it for accuracy, check the NGSS alignment, and check it against what your actual students need.
Try one this week
Don’t try to overhaul your whole planning routine at once. Pick the one move that hits your biggest time-suck, whether that’s leveling questions or drafting a lab, and use it this week. If you want to watch how I actually run these, the walkthrough video is right here in this post. Give yourself back a Sunday afternoon.